Now I want to get an applique project prepped! I'm getting addicted to this dreaded "A" word! LOL
Hugs
Laurie

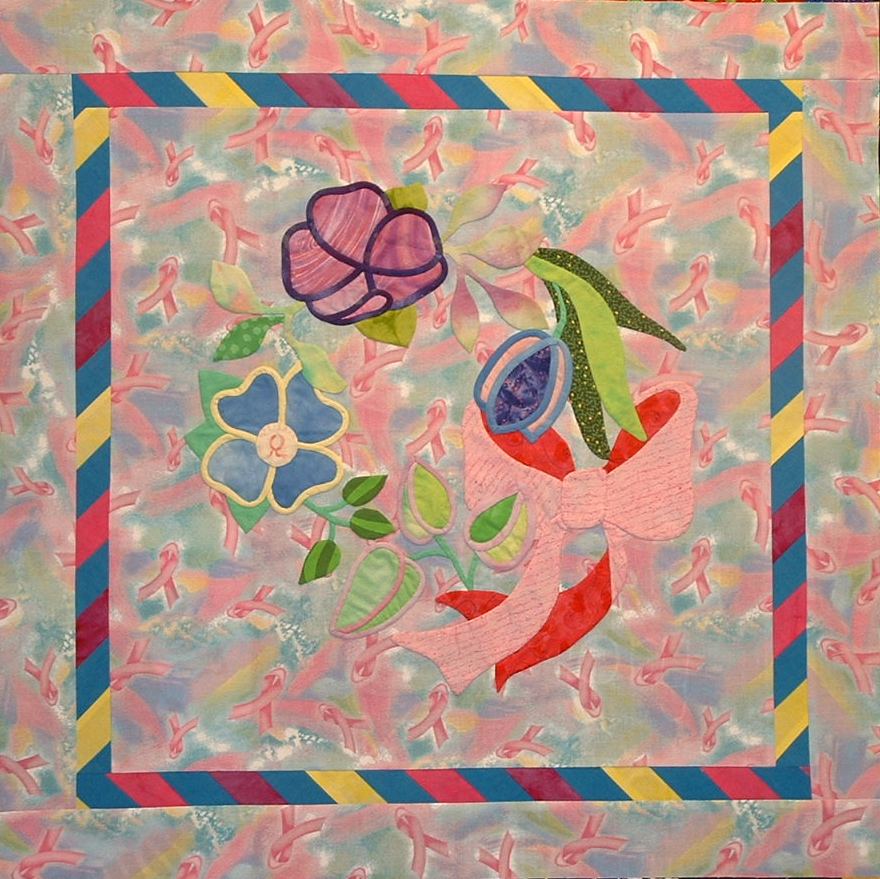 I got the borders on the "Survivor" wallhanging! I just LOVE how it added life to the wallhanging! I'm pretty happy with it! Now to find time to quilt the darn thing! Just wanted to share!
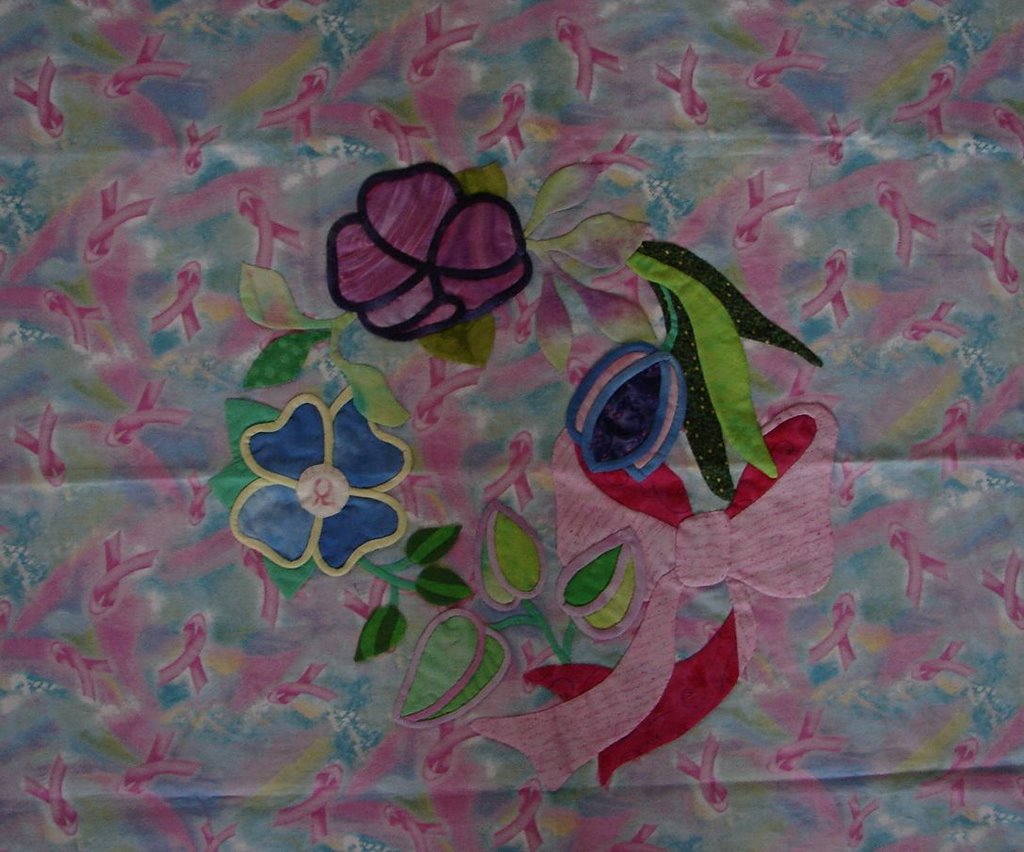 Here is a closeup of a couple of the flowers using bias to highlight the petals. I really liked this method because I didn't have to worry about things shifting! Just butt the pieces up to each other, baste them in place, and attach the bias that I made.
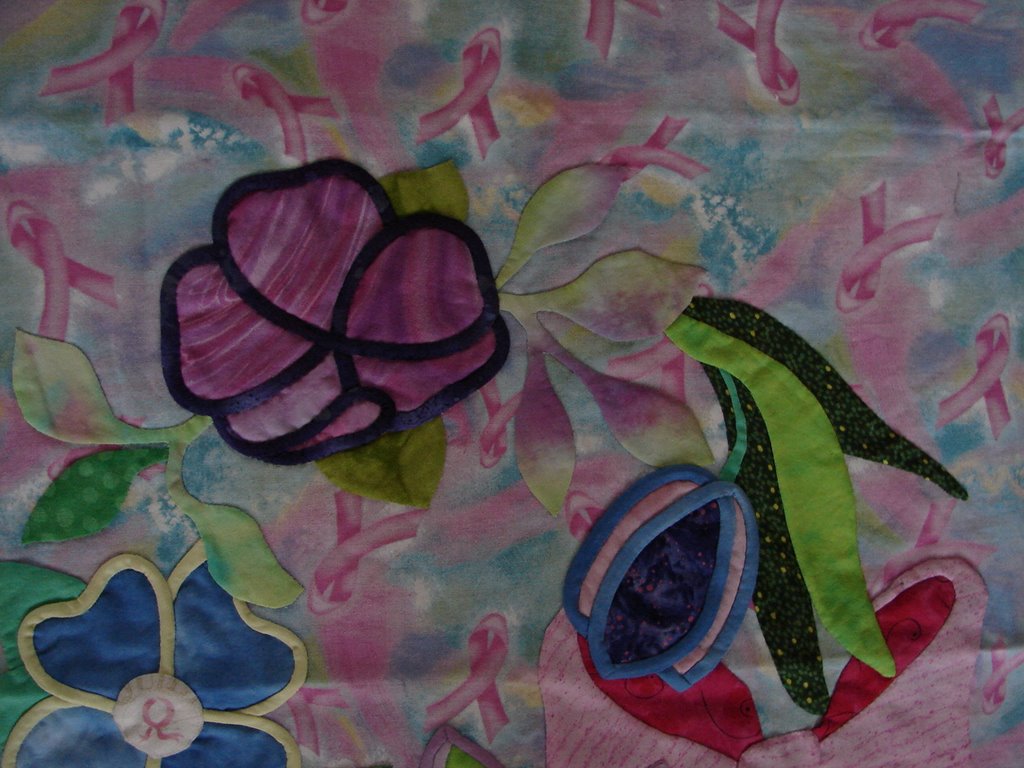 I put a pink ribbon from another breast cancer fabric that I have in the center of this flower!
 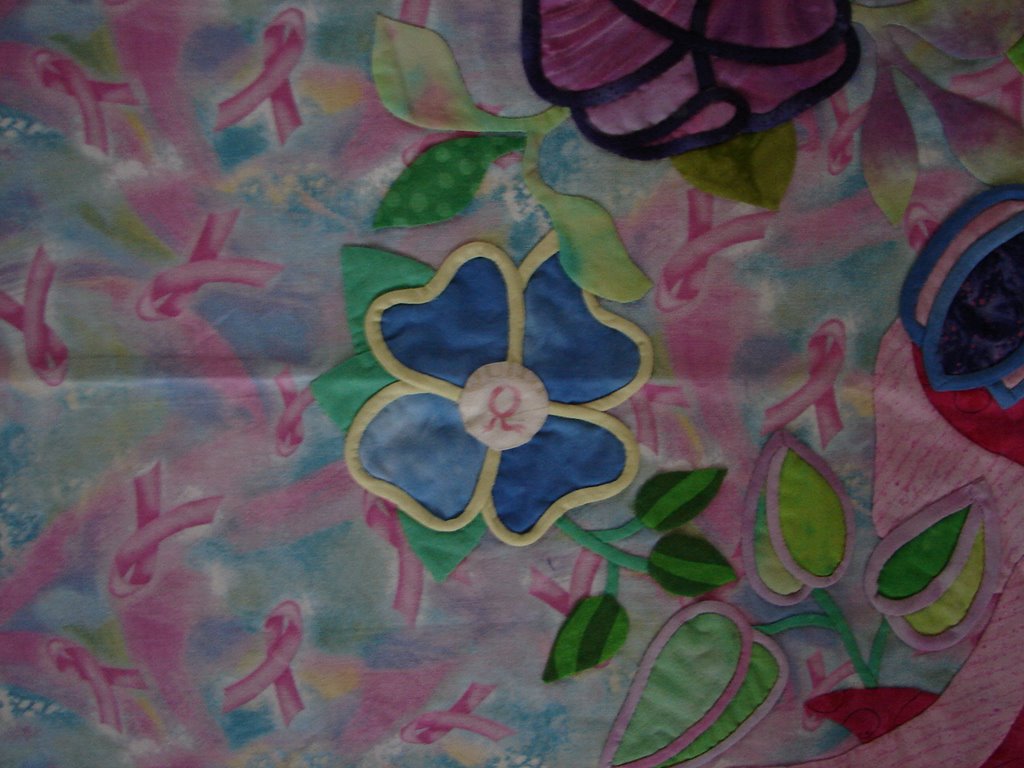 The ribbon was done in pinks for my being a breast cancer survivor. I think I'll hang this in my sewing room when it's finished! IF it gets finished! ;o)
 Lastly, these are 3 of 40 applique blocks that I am going to put into a patchwork quilt. My friend who went on retreat with me last year and again this year, and mysel bought 5" squares of this gorgeous line from Moda. We just fell in love with it. I knew right away that I wanted to applique them into hearts. I found a gorgeous deep red and a buttery yellow (the pics don't do the colors justice) for the backgrounds. I don't think I will sash them...but I'll wait and let the quilt talk to me when it's done. It's nice to have something simple to applique on at night.
 SO...there ya have it! Something quilty from me!



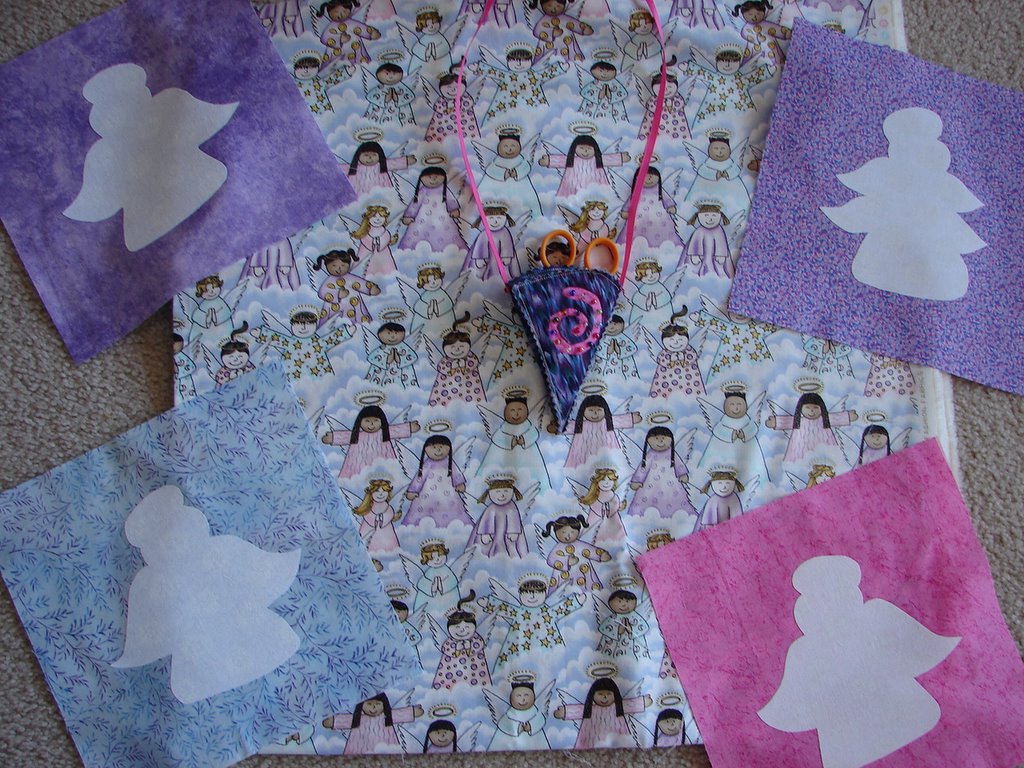
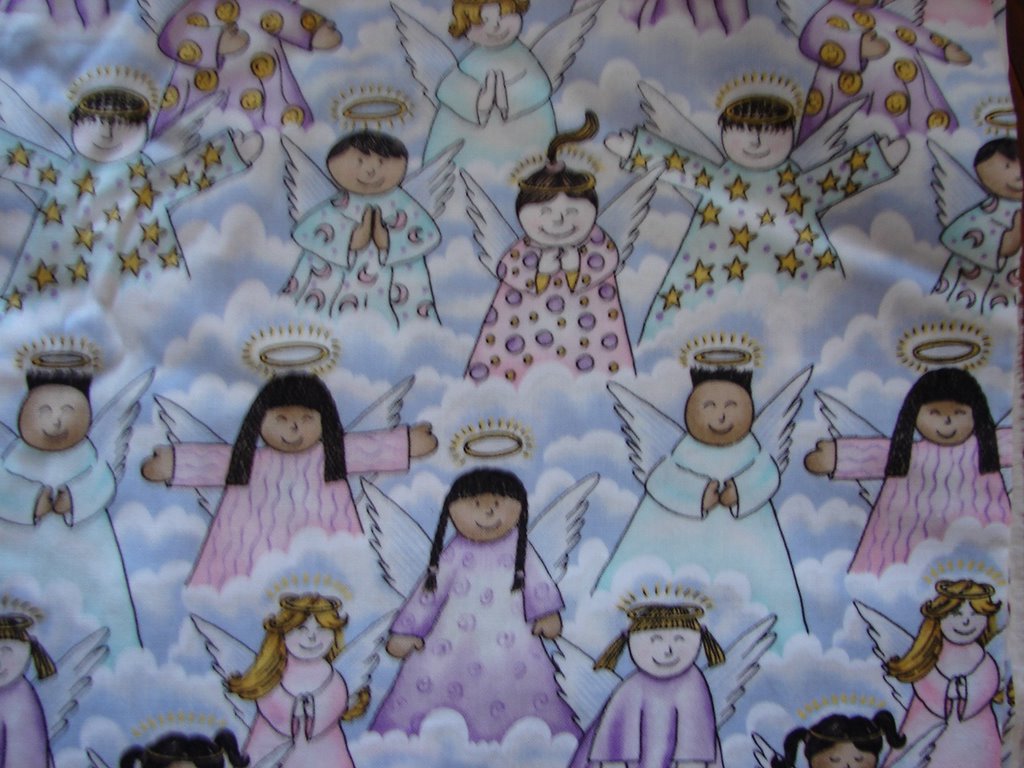 I asked Bill and Linda if anyone in the group is a quilter. They told me no. I offered to make the top and they both welled up with tears AGAIN! I told them that I had a quilt retreat this weekend and I would work on the blocks over the weekend and they would be ready for them to pick up on Monday.
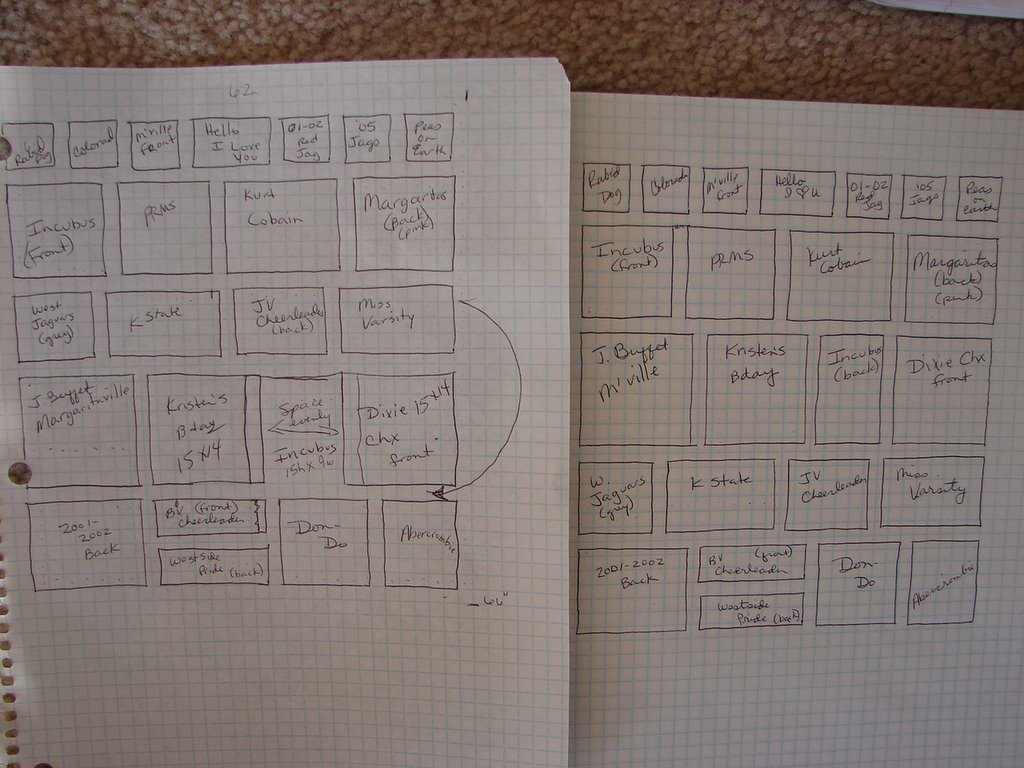
 This is a picture of my 2 drawings on graph paper. The first being my first draft and the second being the one where I adjusted it by moving the 3rd row down to the 4th row. Each square on the graph paper is 2" finished. I write a description of the tshirt in each square so I know what I am working with. This includes tshirt color if I have a lot of the same type of tshirts. For example: in this quilt there are several cheerleading tshirts so I had to write the design AND the color as well if it's front/back if I used both sides. I do this because the front and back might not be the same size cut. It helps keep me organized.! As you can see, this quilt is going to be done in neat rows but the tshirts are different in widths, adding variety to the quilt!
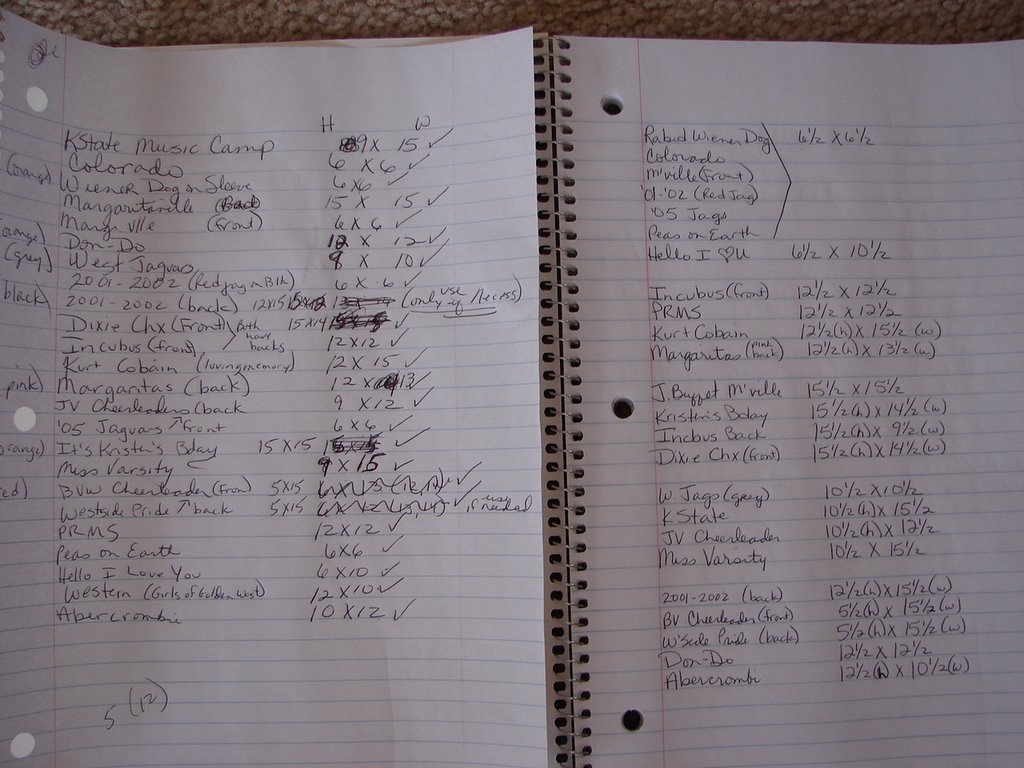
 The next step is to take my electric scissors and cut the tshirts up the seams and saving what I need. I have to be careful here if it's a large design because I have to have it the right size for the quilt!!! (this step used to be scarey...but it's not anymore!) Here are the tshirts for the design above! The next step will be pressing very lightweight fusible interfacing to the backs and then trimming to size using my papers above. Then I sew each row together and VOILA...a tshirt quilt top! Ready for quilting! I hope this helps those of you who asked for the directions.
 NOW...I really should get off this computer because I have a friend coming from CA tomorrow and I need to get the house cleaned! I also have to get the binding done on her quilt! YIKES...I forgot about that! We are going to a retreat and learning reverse applique. We are being rebels though because we don't like the project (it's too folk arty for us) but we do want to learn the technique. We will just take scraps and learn how to do it. We also want to finish last year's project! LOLOLOL...yeah...you read that right! FINISH LAST YEAR'S PROJECT! It's nice to go to this one though because we don't have to schlep our machines!


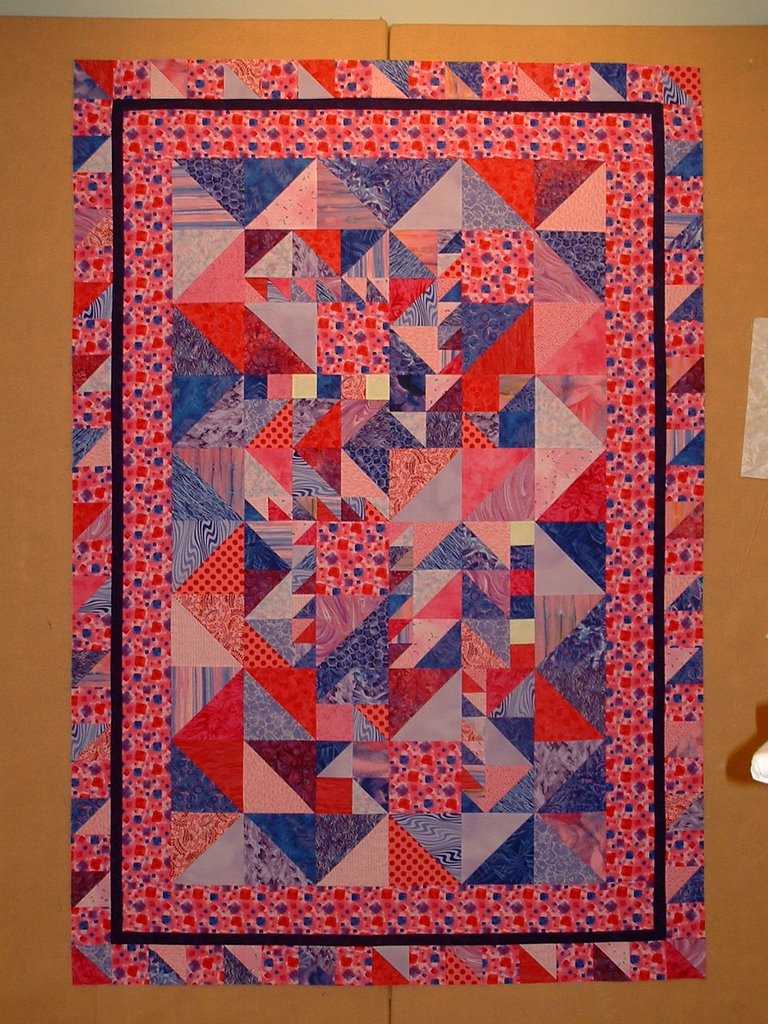
 Have a great day and I'll check in when I get back!


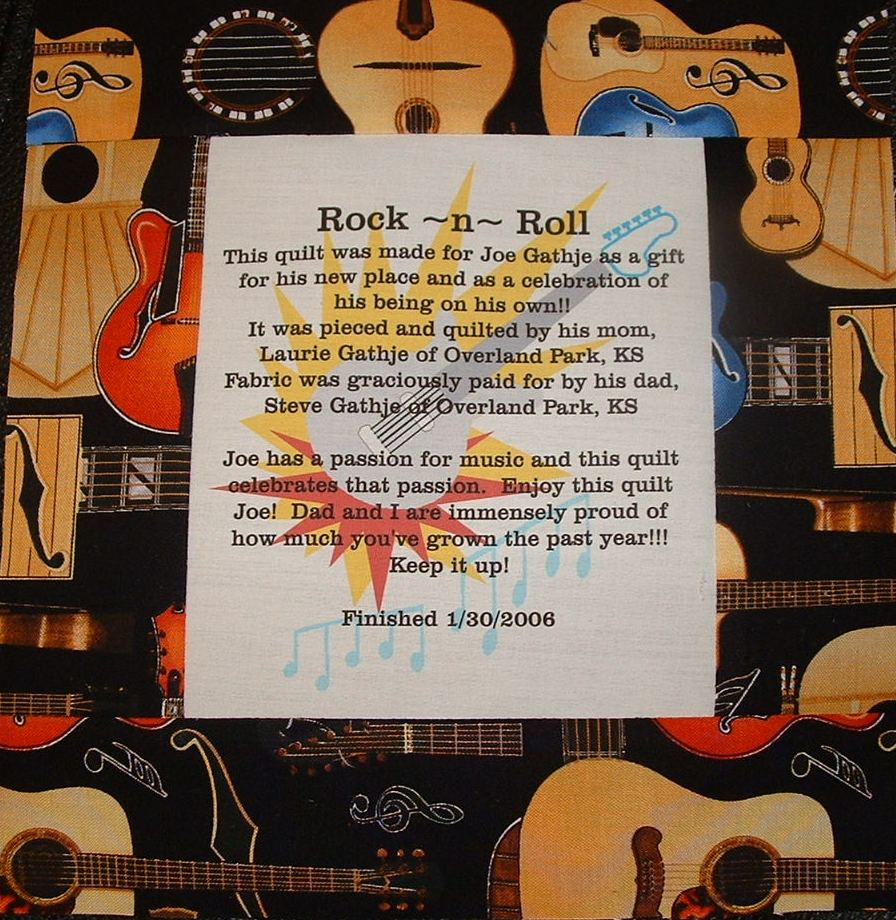
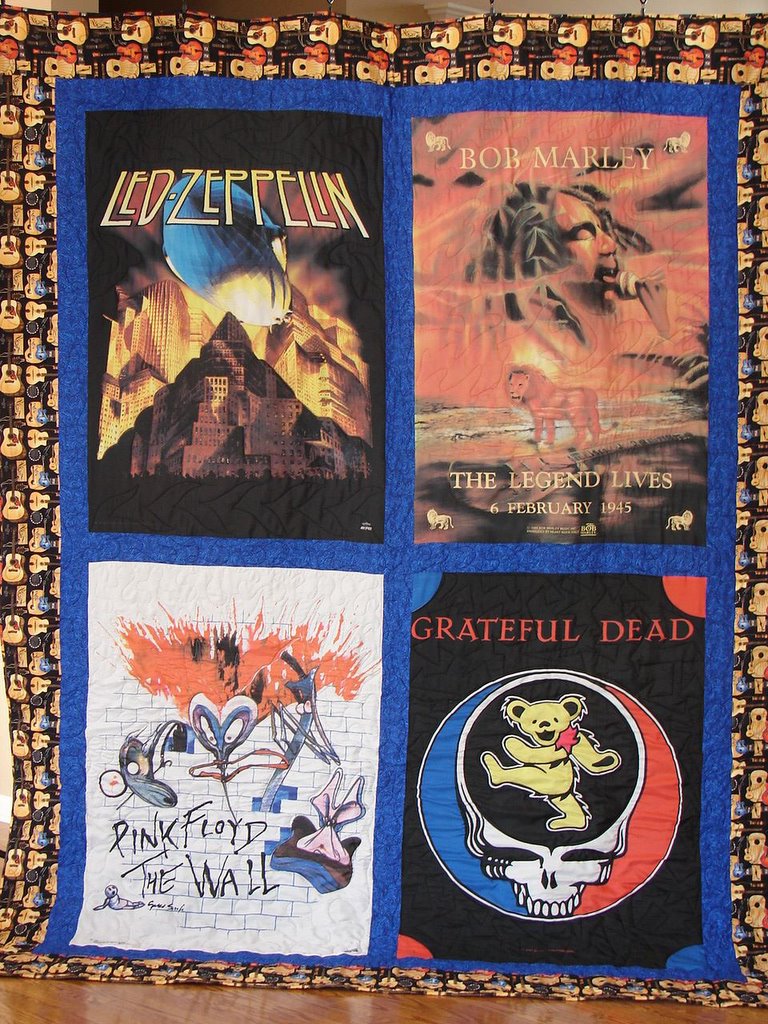 Here is Joe's finished quilt! I delivered it to him and put it on his bed before letting him see it. HE LOVES IT...but it's WAY too big for a twin bed...he needs a double bed and it'd be perfect!
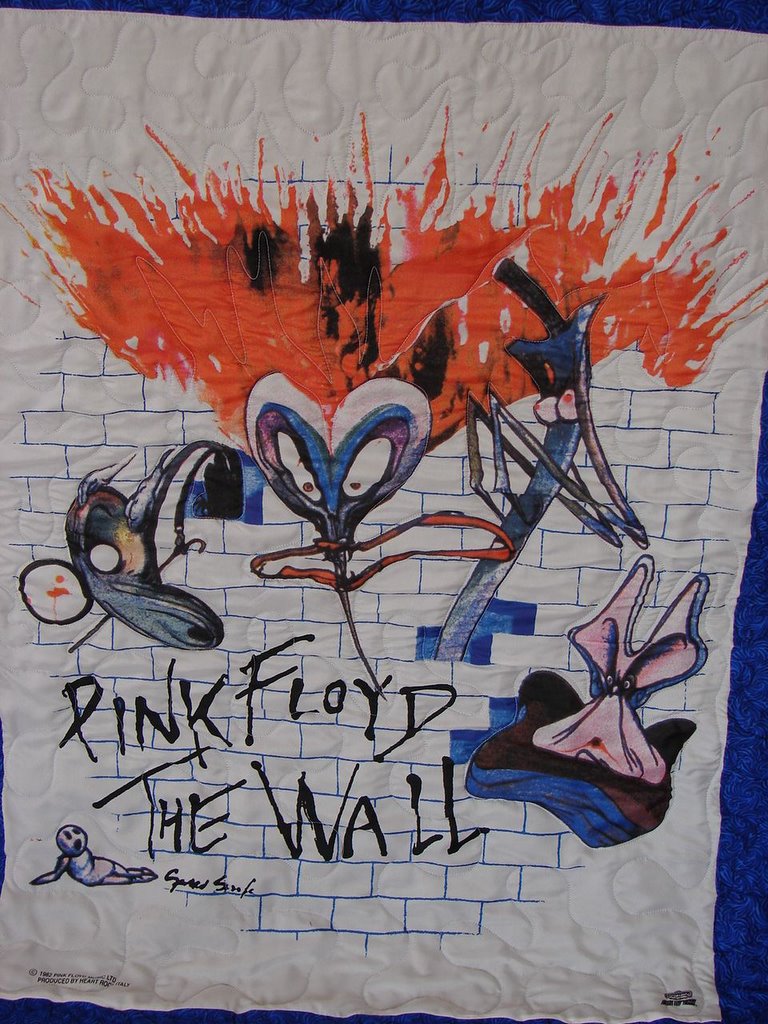
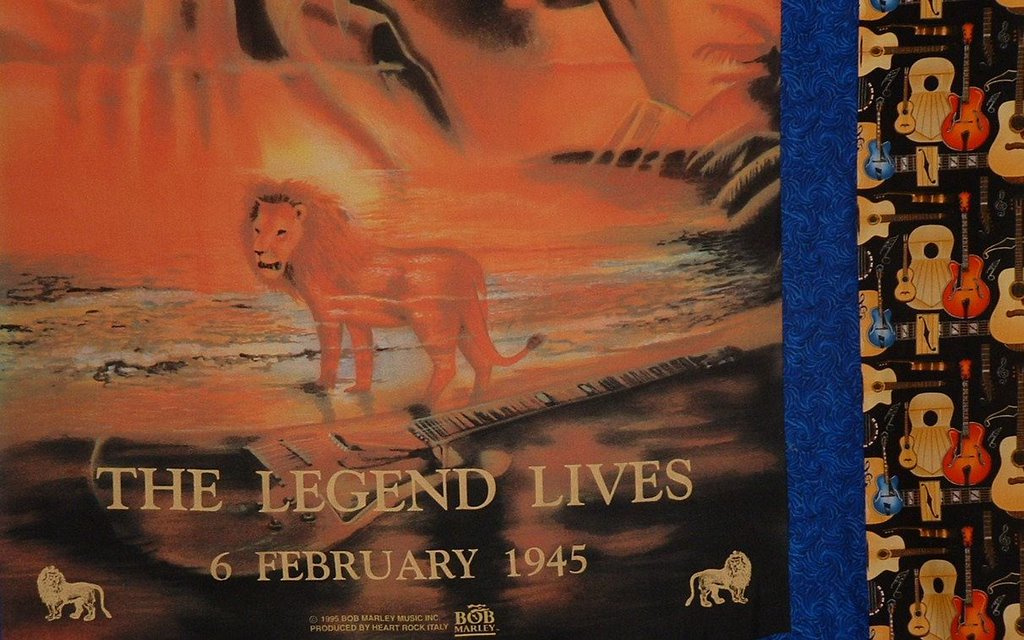
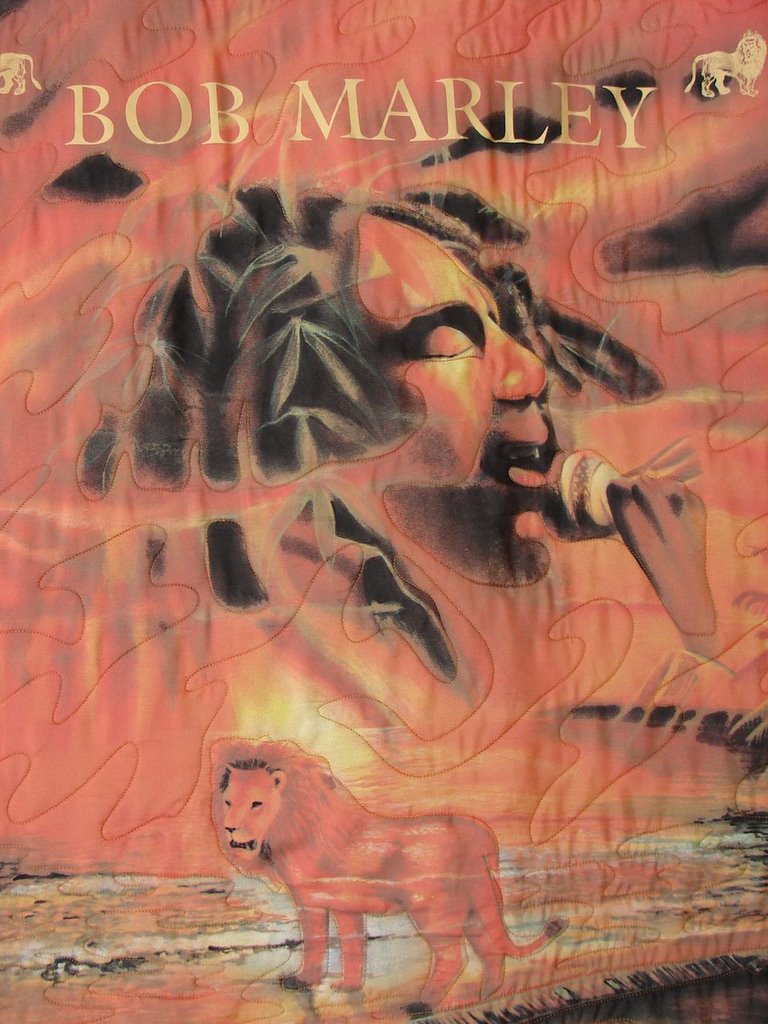 Here are closeups of each panel. I'm not sure if you can see the quilting or not. I didn't do anything special on them at all...the panels speak for themselves.

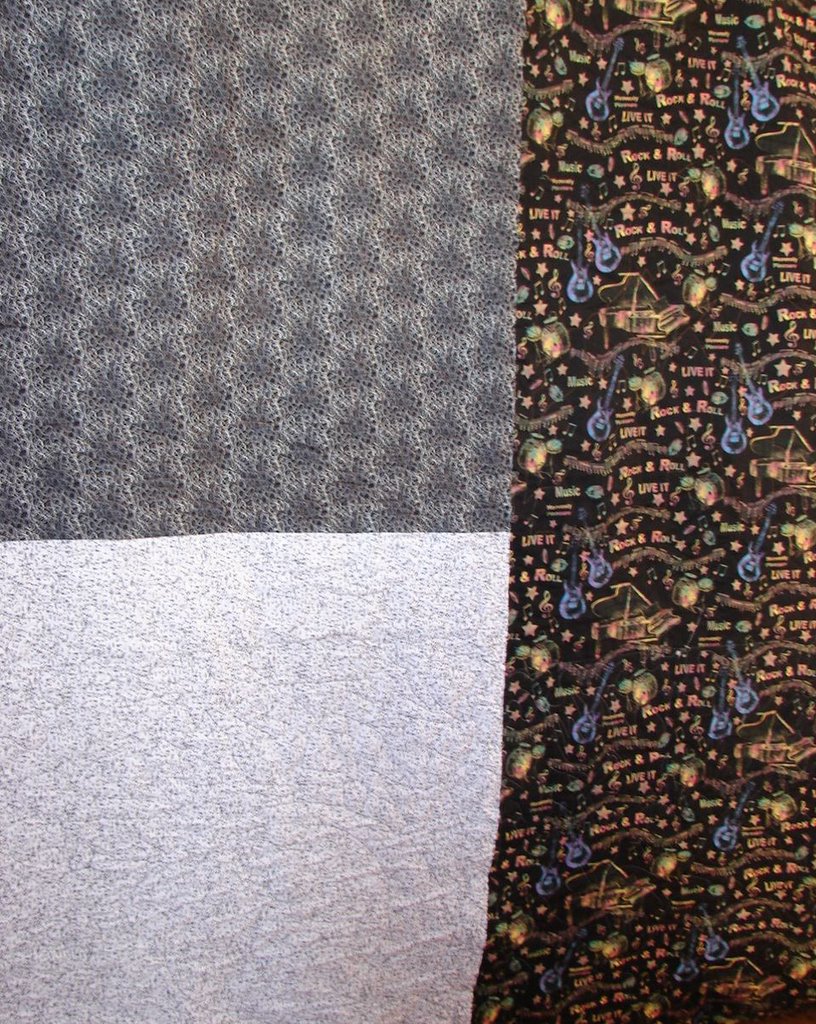 Here is a picture of the backing fabrics. The white fabric is full of music notes. And this is a closeup of the main fabric on the background. Neat fabric huh?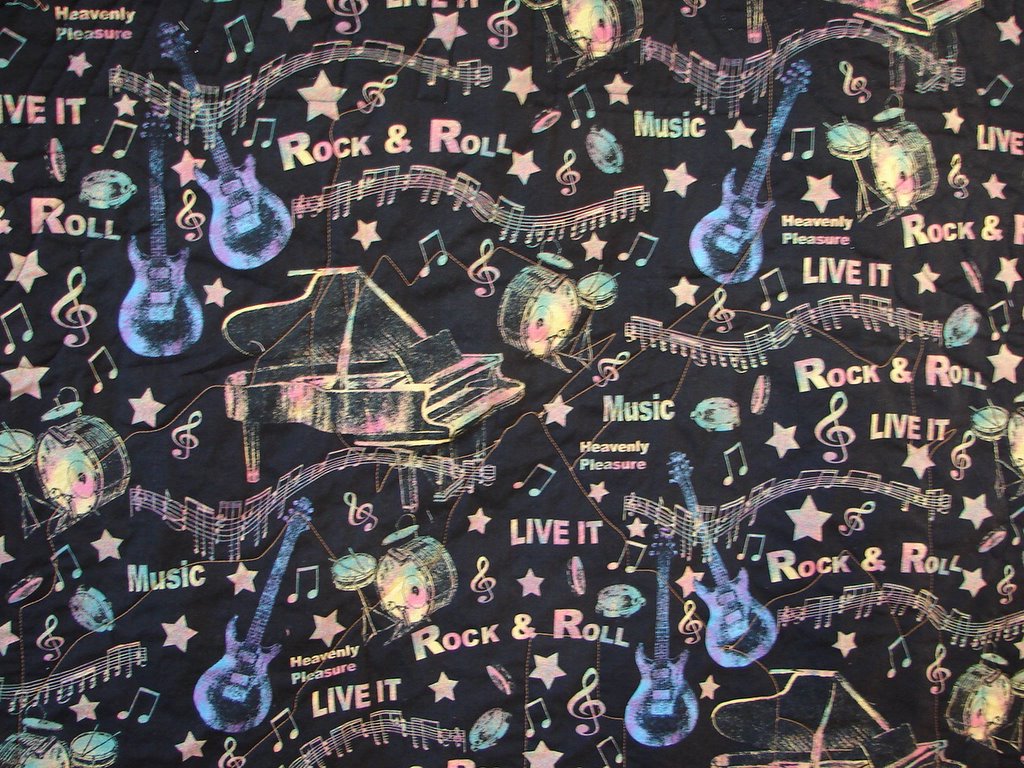




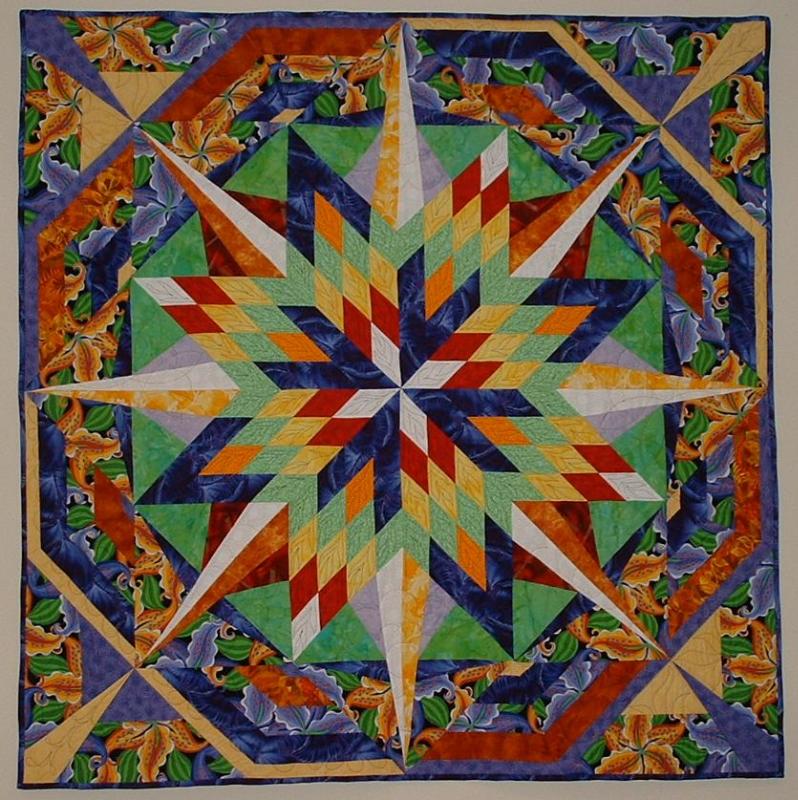

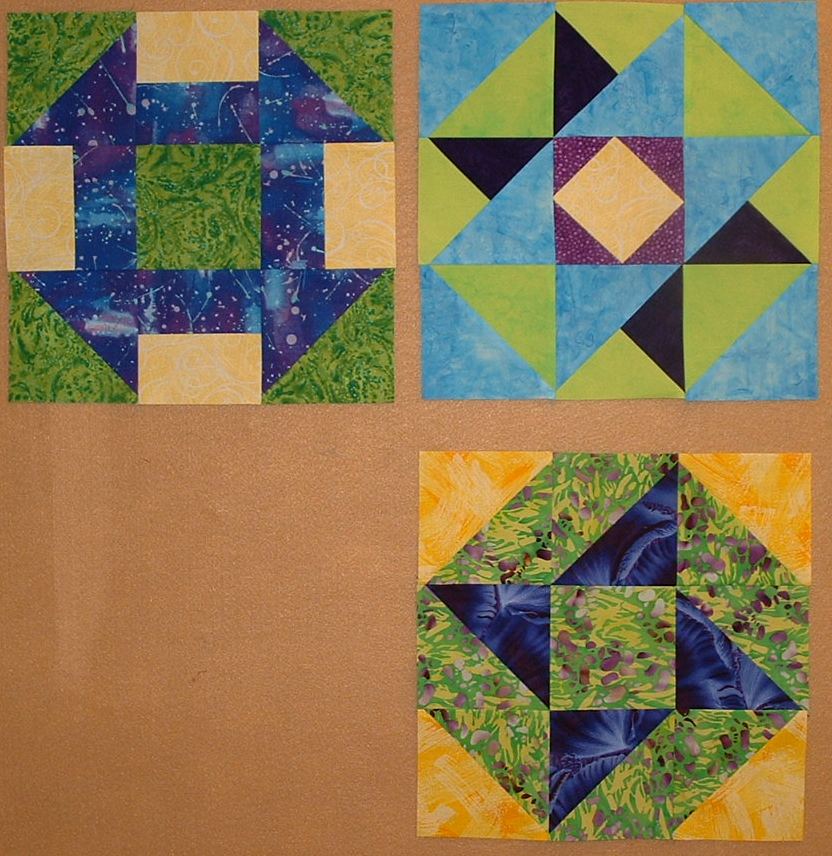
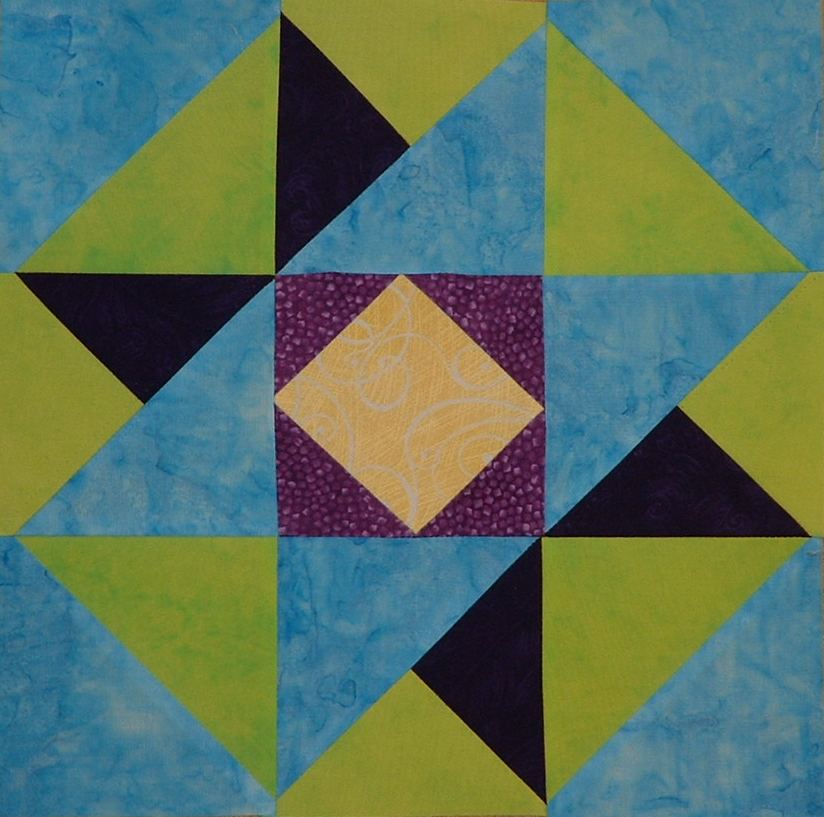

A couple of days ago I thought, "It's time to pick fabrics for the H&I quilt!" So, I did! All of these are out of my stash!!! WOOHOO...STASHBUSTIN' IN '06!! I also laid out the Joen Wolfrom's color wheel device on top of the fabrics so you can see how it works. I don't use this often for my color choices, but I was so intrigued by the tap that I wanted to see if it fell into one of her 5 categories:
*monochromatic (one color)
*complementary (2 colors directly opposite from each other on the wheel)
*analogous (7 colors next to each other on the cw)
*splilt-complementary (2 complementary colors and add 2 colors on either side of ONE of those)
*triadic (3 colors equi-distant from each other on the cw)
And it DOES!!!!!!!!!!! It is SPLIT COMPLEMENTARY! How COOL is this???!!! Now to find the PERFECT PATTERN! AH, the hunt of the PERFECT PATTERN! I"ll find it somewhere! Someday...
So here is a picture of the fabrics, the left column are purples (the very deep purple didn't photograph well, it looks almost black but it is a black purple), then blues, yellow greens and yellow). This should be FUN!

Oh, here is a pic of the WBT tshirt quilt I made for DH and I cuz we had waaaaaaaaaaaaay too many! We have finished 4 full tours and are on our 5th!!!